Embroidery is a timeless art form that allows you to create stunning designs on fabric with just a needle and thread. Whether you’re a beginner or an experienced crafter, learning different embroidery techniques can open up a world of creative possibilities. In this guide, we’ll explore various embroidery techniques, tools, and tips to help you master this beautiful craft.

Getting Started with Embroidery
Essential Tools and Materials
To begin your embroidery journey, you’ll need a few basic tools and materials:
- Embroidery Hoop: Helps keep your fabric taut while you work.
- Fabric: Cotton, linen, or canvas are great options for beginners.
- Needles: Embroidery needles come in various sizes; choose one based on your fabric and thread.
- Thread: Embroidery floss is available in a wide range of colors and textures.
- Scissors: Small, sharp scissors are ideal for trimming threads.
Water-Soluble Marker or Chalk: For transferring designs onto fabric.

Choosing the Right Fabric and Thread
- Fabric: Start with light-colored fabrics to easily see your design. Avoid stretchy or slippery materials initially.
- Thread: Use six-strand embroidery floss and separate strands to adjust the thickness of your stitches.
- Transferring Patterns
Tracing: Use a lightbox or hold your fabric against a window to trace your design.
Iron-On Transfers: Pre-made designs can be ironed onto fabric.
Freehand Drawing: For a more personal touch, sketch your design directly onto the fabric.
Embroidery is a timeless art form that allows you to create stunning designs on fabric with just a needle and thread. Whether you’re a beginner or an experienced crafter, learning different embroidery techniques can open up a world of creative possibilities. In this guide, we’ll explore various embroidery techniques, tools, and tips to help you master this beautiful craft

Getting Started with Embroidery
Essential Tools and Materials
To begin your embroidery journey, you’ll need a few basic tools and materials:
- Embroidery Hoop: Helps keep your fabric taut while you work.
- Fabric: Cotton, linen, or canvas are great options for beginners.
- Needles: Embroidery needles come in various sizes; choose one based on your fabric and thread.
- Thread: Embroidery floss is available in a wide range of colors and textures.
- Scissors: Small, sharp scissors are ideal for trimming threads.
- Water-Soluble Marker or Chalk: For transferring designs onto fabric.
Choosing the Right Fabric and Thread
- Fabric: Start with light-colored fabrics to easily see your design. Avoid stretchy or slippery materials initially.
- Thread: Use six-strand embroidery floss and separate strands to adjust the thickness of your stitches.
Transferring Patterns
- Tracing: Use a lightbox or hold your fabric against a window to trace your design.
- Iron-On Transfers: Pre-made designs can be ironed onto fabric.
- Freehand Drawing: For a more personal touch, sketch your design directly onto the fabric.

Intermediate Techniques
1. Split Stitch
- Description: A variation of the backstitch with a textured look.
- How to Do It:
- Make a small stitch.
- Bring the needle up through the middle of the previous stitch.
- Continue, splitting each stitch as you go.
2. Lazy Daisy Stitch
- Description: Ideal for creating flowers and petal shapes.
- How to Do It:
- Bring the needle up and form a loop with the thread.
- Insert the needle back at the starting point and bring it up to secure the loop with a small stitch.
3. Long and Short Stitch
- Description: Best for shading and creating gradient effects.
- How to Do It:
- Alternate between long and short stitches.
- Use multiple thread colors for a smooth gradient.
4. Stem Stitch
- Description: Commonly used for outlining curves.
- How to Do It:
- Bring the needle up and make a stitch forward.
- Bring it up again slightly behind the midpoint of the previous stitch.
Creative Embroidery Ideas
1. Personalize Clothing
- Add monograms or small motifs to shirts, jackets, and jeans.
2. Home Decor
- Create embroidered pillowcases, wall hangings, or tablecloths.
3. Gifts
- Make customized gifts like handkerchiefs, tote bags, or bookmarks.

Tips for Successful Embroidery
1. Keep Tension Even
- Avoid pulling the thread too tight, as it can pucker the fabric.
2. Practice on Scrap Fabric
- Experiment with stitches on scrap fabric before working on your final piece.
3. Use Quality Tools
- Invest in good-quality needles, threads, and hoops for better results.
4. Take Breaks
- Embroidery can strain your hands and eyes. Take regular breaks to avoid fatigue.
Caring for Embroidered Items
- Washing: Hand wash with mild detergent and cold water. Avoid wringing.
- Drying: Lay flat to air dry. Keep away from direct sunlight.
- Ironing: Place a cloth over the embroidery before ironing on low heat.
- Storage: Store in a cool, dry place to prevent discoloration.
Join the Embroidery Community
Embroidery is more than just a craft; it’s a way to express creativity and connect with others who share your passion. Share your creations on social media or join local crafting groups to exchange tips and inspiration.
2.Crochet Patterns: A Comprehensive Guide for Every Skill Level
Crochet is a versatile craft that allows you to create everything from cozy blankets to intricate accessories. Whether you’re a beginner or a seasoned crocheter, exploring different patterns can inspire your next project. In this guide, we’ll introduce you to a variety of crochet patterns, essential tools, and helpful tips to make your creations stand out.

.
Getting Started with Crochet Patterns
Essential Tools for Crochet
To begin working on crochet patterns, you’ll need the following tools:
- Crochet Hooks: Available in various sizes to suit different yarns and patterns.
- Yarn: Choose yarn based on your project—lightweight for delicate items and bulky for blankets or scarves.
- Scissors: Small, sharp scissors for precise cutting.
- Tapestry Needle: Used for weaving in loose ends.
Stitch Markers: Helpful for keeping track of your place in complex patterns

Understanding Crochet Terminology
Crochet patterns often use abbreviations. Here are some common ones:
- ch: Chain
- sc: Single crochet
- dc: Double crochet
- sl st: Slip stitch
- inc: Increase
- dec: Decrease
- st: Stitch

Beginner-Friendly Crochet Patterns
1. Granny Square
- Description: A classic pattern that’s perfect for beginners. It can be used to make blankets, scarves, or even bags.
- Steps:
- Start with a magic ring.
- Chain 3 (counts as the first double crochet).
- Double crochet two more times into the ring.
- Chain 2 and repeat until you have 4 clusters.
- Close the ring with a slip stitch.
2. Simple Scarf
- Description: A quick and easy project to practice your stitches.
- Steps:
- Chain a length equal to the desired width of the scarf.
- Work single crochet stitches back and forth until the scarf reaches your preferred length.
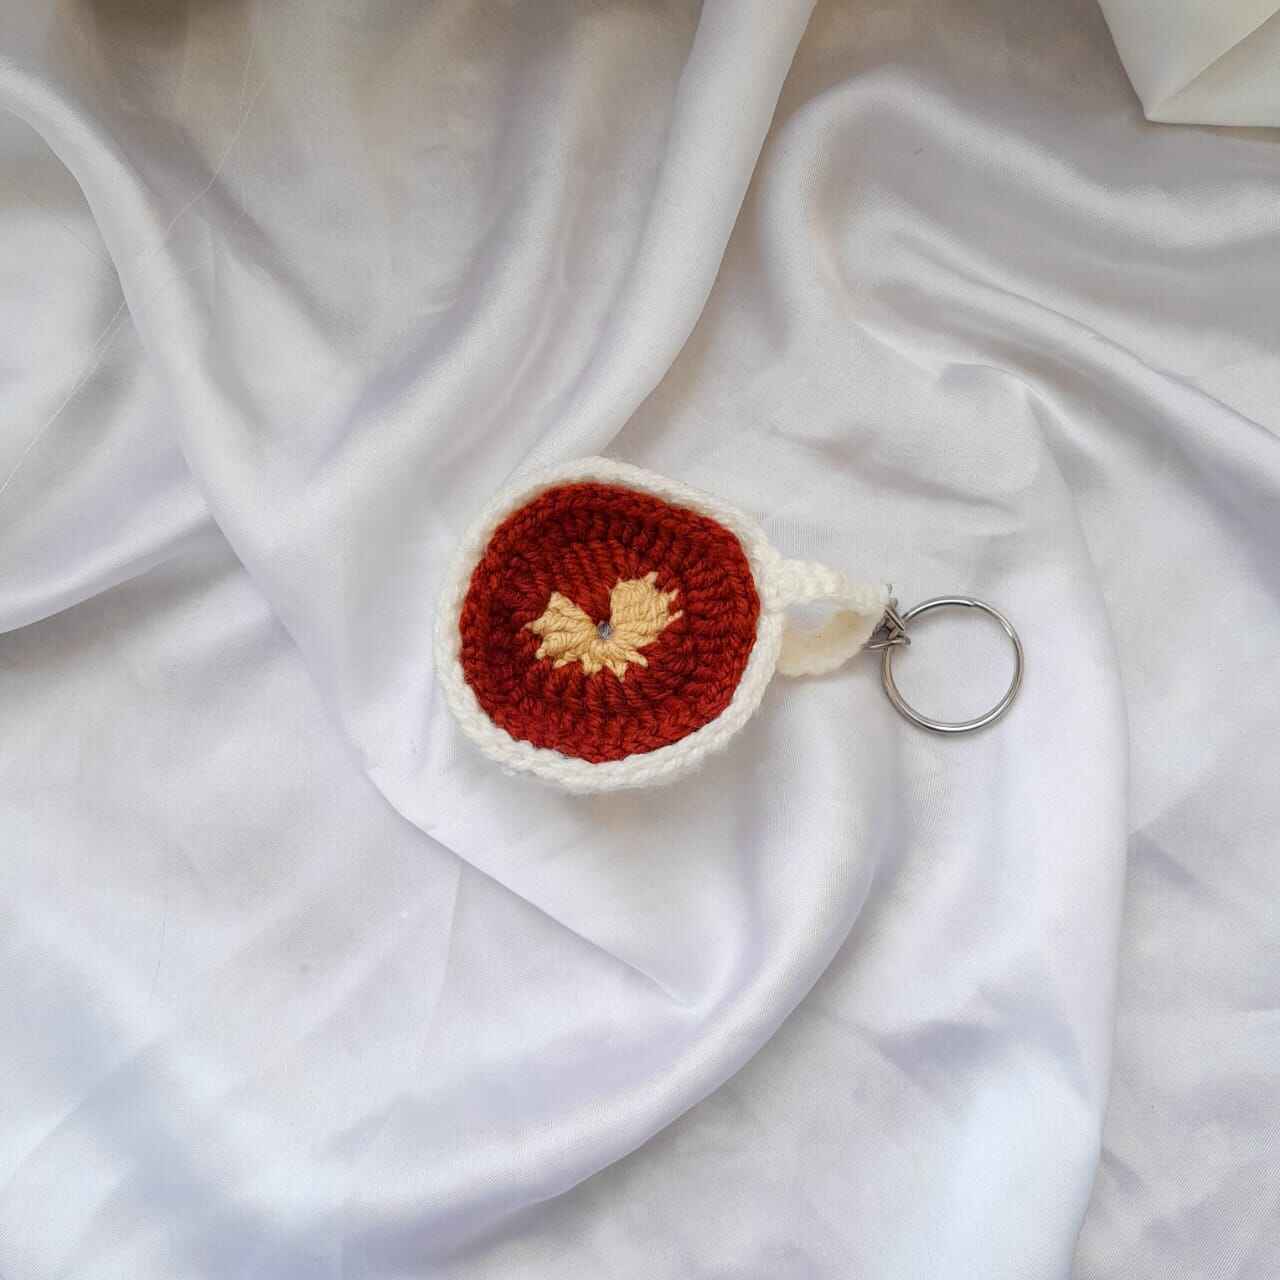
3. Basic Coaster
- Description: A small and functional project for beginners.
- Steps:
- Create a magic ring and work 6 single crochet stitches into it.
- Increase evenly in each round until the coaster reaches the desired size.

Intermediate Crochet Patterns
1. Ripple Stitch Blanket
- Description: A wavy pattern that’s perfect for blankets or shawls.
- Steps:
- Chain a multiple of 14 plus 2.
- Follow the ripple stitch pattern, alternating increases and decreases to create the wave effect.
2. Amigurumi Toys
- Description: Create cute stuffed animals or dolls.
- Steps:
- Use single crochet stitches in a spiral to form the shapes.
- Stuff with fiberfill before closing.
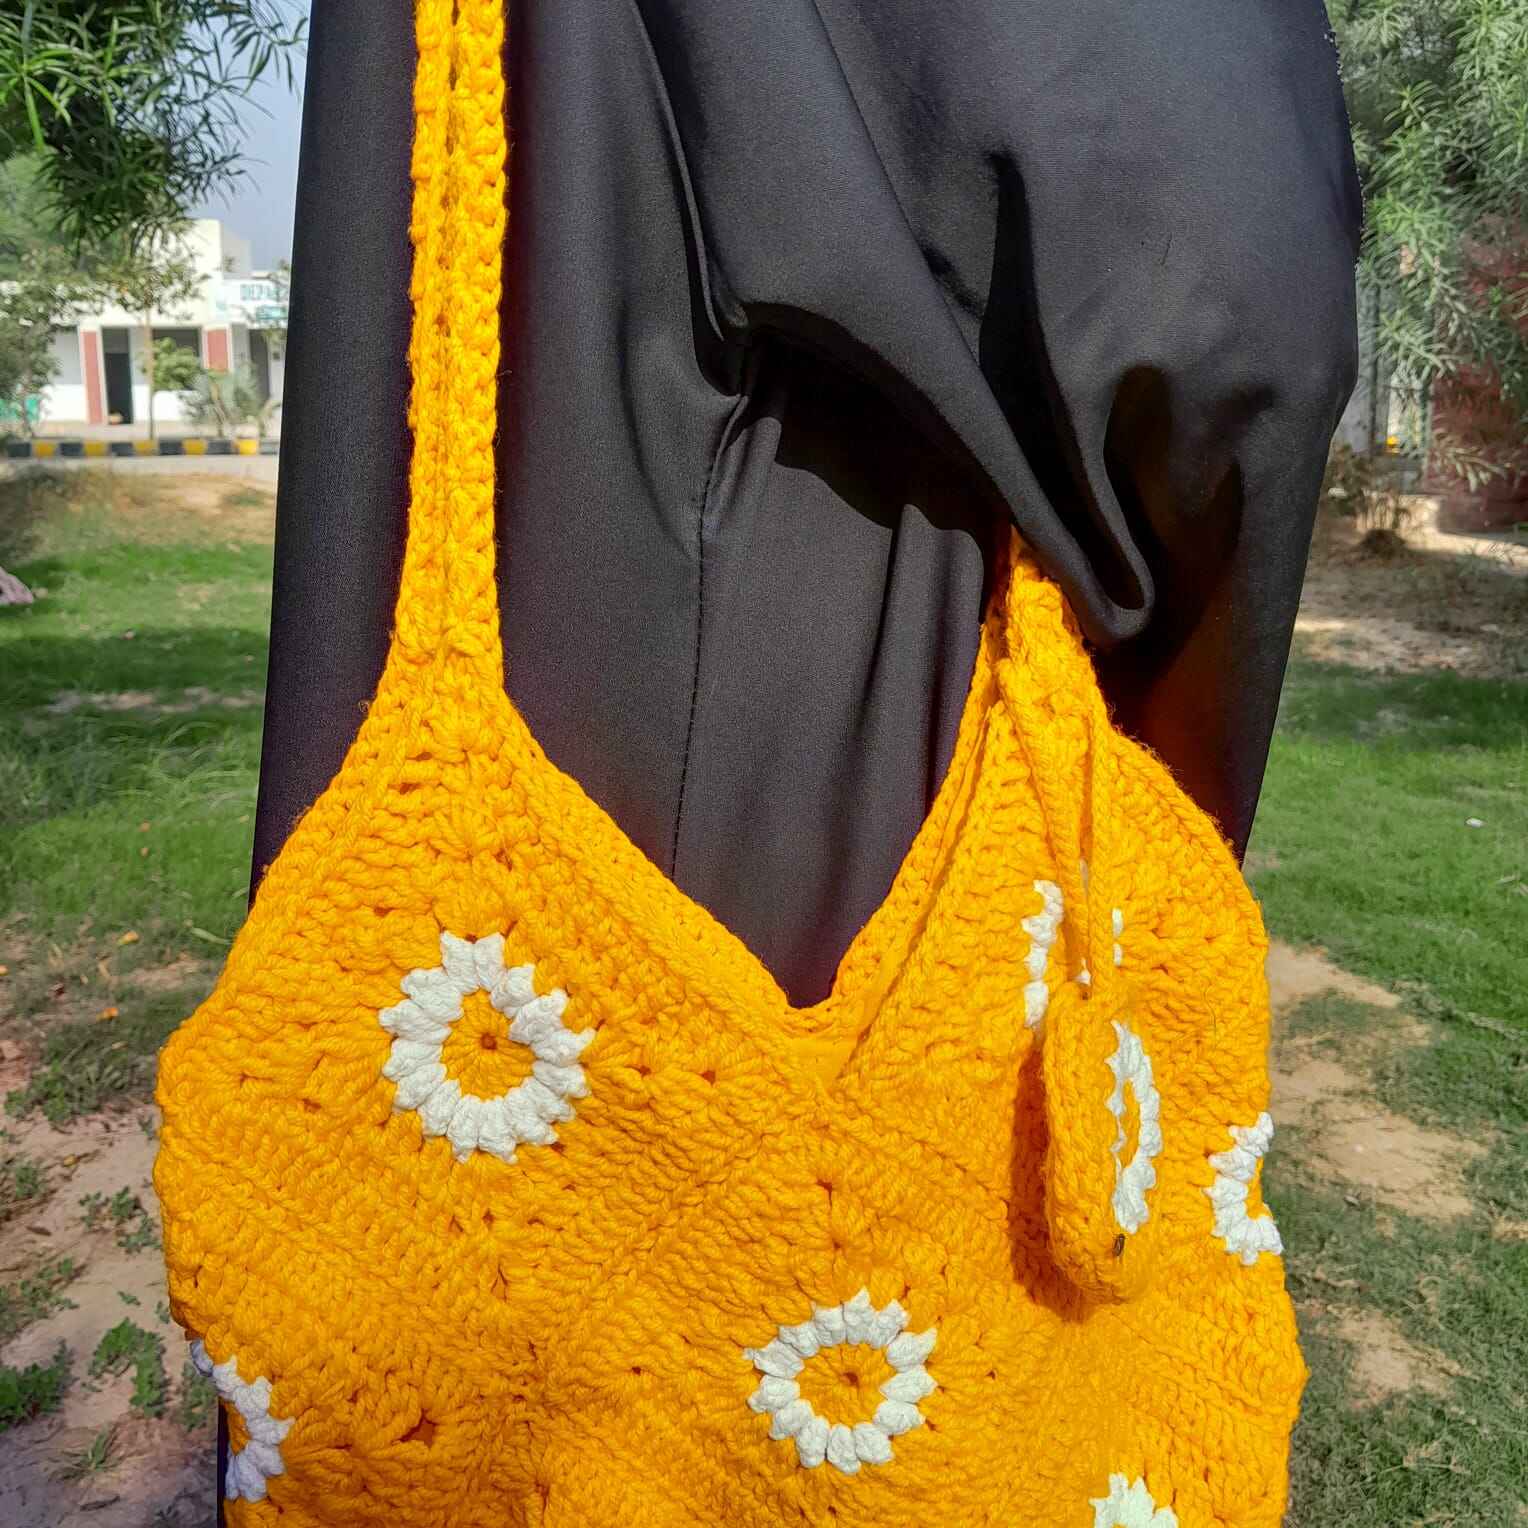
3. Mesh Market Bag
- Description: A lightweight and eco-friendly bag for groceries.
- Steps:
- Chain 30 and join with a slip stitch to form a ring.
- Alternate between chain spaces and double crochets to create the mesh pattern.

Advanced Crochet Patterns
1. Celtic Weave Blanket
- Description: A textured and intricate design for experienced crocheters.
- Steps:
- Use front post and back post stitches to create the woven look.
- Follow a detailed diagram or pattern for accuracy.
2. Lace Shawl
- Description: A delicate and elegant accessory.
- Steps:
- Work with fine yarn and a small hook.
- Follow a lace chart to create intricate motifs.
3. Crochet Garments
- Description: Create sweaters, cardigans, or dresses.
- Steps:
- Work in sections (e.g., front, back, sleeves) and assemble them.
- Use shaping techniques like increases and decreases for a tailored fit.
Creative Crochet Ideas
- Home Decor: Make pillow covers, table runners, or wall hangings.
- Accessories: Create headbands, hats, or gloves.
- Gifts: Crochet personalized items like baby blankets or ornaments.

Tips for Success with Crochet Patterns
- Read the Pattern Carefully
- Understand the abbreviations and techniques before starting.
- Check Your Gauge
- Work a small swatch to ensure your stitches match the pattern’s gauge.
- Use the Right Hook and Yarn
- Ensure your materials match the pattern’s requirements.
- Practice Complex Stitches
- Work on scrap yarn to master challenging techniques before incorporating them into your project.
- Stay Organized
Use stitch markers and row counters to keep track of your progress
Caring for Crochet Items
- Washing: Hand wash with mild detergent and cold water.
- Drying: Lay flat to air dry.
Storage: Store in a cool, dry place to prevent damage
Crochet patterns are a wonderful way to express your creativity and make functional, beautiful items. Whether you’re just starting out or looking for a challenge, there’s a pattern for everyone. Explore the possibilities and enjoy the process of turning yarn into art!

Hand Painting Tips for Beginners and Enthusiasts
Hand painting is a beautiful art form that allows you to express your creativity and add a personal touch to your clothing, accessories, and home decor. Whether you’re new to hand painting or looking to improve your skills, this guide will provide you with essential tips to elevate your work and achieve stunning results. At Stitchorstyle, we offer custom hand-painted designs on abayas, unique hand-painted clothing, and minimal items like personalized tote bags and custom keychains, making your style truly unique. Let’s dive into the tips that can make your hand-painting journey enjoyable and successful.

HAND PAINTING TIPS
1. Choose the Right Tools and Materials
The tools and materials you use play a significant role in the outcome of your hand-painting project. Here’s what you need:
- Paints: Acrylic paints are versatile and long-lasting, making them ideal for fabric painting techniques and other surfaces.
- Brushes: Invest in high-quality brushes of varying sizes to achieve detailed and broad strokes.
- Fabric Medium: Mix this with acrylic paint for a smoother application on fabrics, perfect for creating artistic clothing designs.
- Palette: A palette or disposable plate works well for mixing colors.
- Surface Preparation: Use a flat, clean, and dry surface to work on.

2. Prep Your Canvas
Preparing your canvas is crucial for achieving professional results. For fabrics, wash and dry them beforehand to remove any dirt or chemicals that might affect paint adhesion. Iron the fabric to ensure a smooth surface for painting. For other surfaces, clean and dry them thoroughly to eliminate dust and grease

3. Plan Your Design
A well-thought-out design is the foundation of a successful hand-painted project. Use these steps to plan your design:
- Sketch First: Draw your design on paper before transferring it to the surface.
- Use Stencils or Templates: These tools can help you achieve consistent patterns.
- Test Colors: Try out your color combinations on a spare piece of fabric or paper to ensure they blend well.

4. Use the Right Techniques
Mastering hand-painting techniques can significantly improve your results. Here are some techniques to consider:
- Layering: Start with light colors and gradually add darker shades for depth.
- Dry Brushing: Use a dry brush with minimal paint for a textured effect.
- Blending: Blend colors while they’re wet to create smooth gradients.
- Detailing: Use fine brushes for intricate details and outlines.
5. Practice Proper Brush Care
Maintaining your brushes is essential for consistent results. Clean them thoroughly after each use to prevent paint buildup. Store them upright with bristles facing upward to maintain their shape.
6. Be Patient and Take Breaks
Patience is key to hand painting. Allow each layer of paint to dry before adding another to prevent smudging. Take breaks to avoid fatigue and maintain precision.
7. Seal Your Work
Sealing your hand-painted designs ensures their durability and longevity. For fabric, use a heat-setting technique by ironing the reverse side of the design. For other surfaces, apply a clear varnish or sealant to protect the paint. This is especially important for custom hand-painted designs that need to withstand regular use.
8. Experiment and Innovate
Don’t be afraid to experiment with different styles, textures, and surfaces. Try hand painting on personalized tote bags, custom keychains, earbuds covers, and even abayas to create unique, DIY hand painting projects. Stitchorstyle’s minimal embroidery and hand-painted designs are perfect examples of how creativity can transform everyday items into works of art.
9. Get Inspired
Inspiration can come from anywhere—nature, architecture, or even abstract concepts. Keep a journal or mood board of ideas to refer back to when starting a new project. Unique hand-painted clothing often starts with a simple idea and evolves into an artistic masterpiece.
10. Embrace Mistakes
Mistakes are part of the creative process. Instead of viewing them as failures, use them as opportunities to learn and adapt. Sometimes, mistakes can lead to unexpected and beautiful designs that make your artistic clothing designs even more special.
Why Choose Stitchorstyle for Hand-Painted Designs?

Stitchorstyle specializes in creating custom, hand-painted designs that reflect your personality and style. Our skilled artisans combine traditional techniques with modern aesthetics to produce one-of-a-kind pieces. From abayas to personalized tote bags and custom keychains, our hand-painted items are perfect for those who value craftsmanship and individuality.
Whether you’re a beginner exploring the art of hand painting or an enthusiast looking to enhance your skills, these tips will guide you toward creating beautiful, lasting designs. For more inspiration and unique hand-painted clothing, visit Stitchorstyle and discover the perfect blend of tradition and style.